Learn
- Cols //
- Cycling Tours //
- Learn //
- Ask the experts //
- Shop
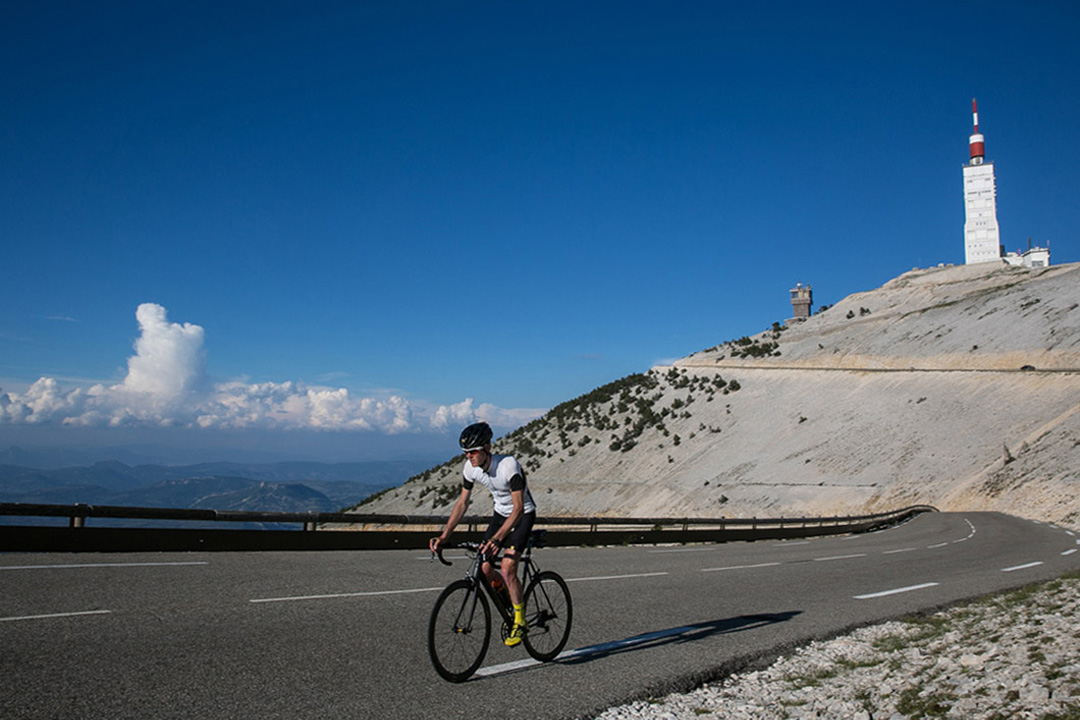
A Beginners Guide to Cycling in the Mountains
Essential tips and pre-planning advice before you hit the hills
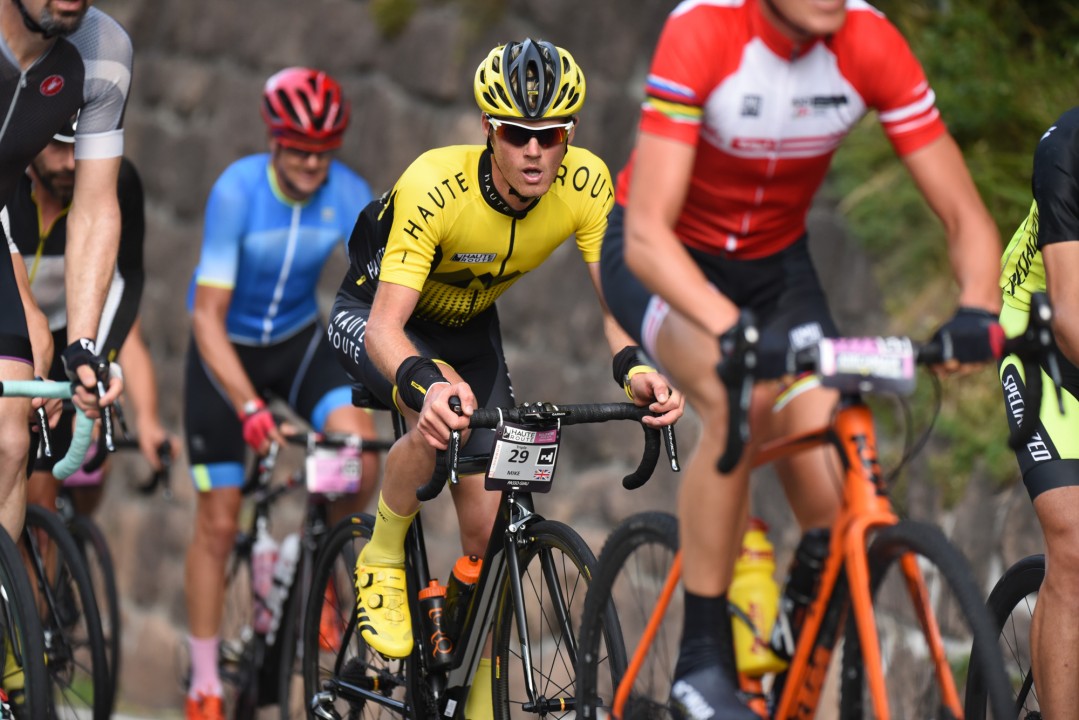
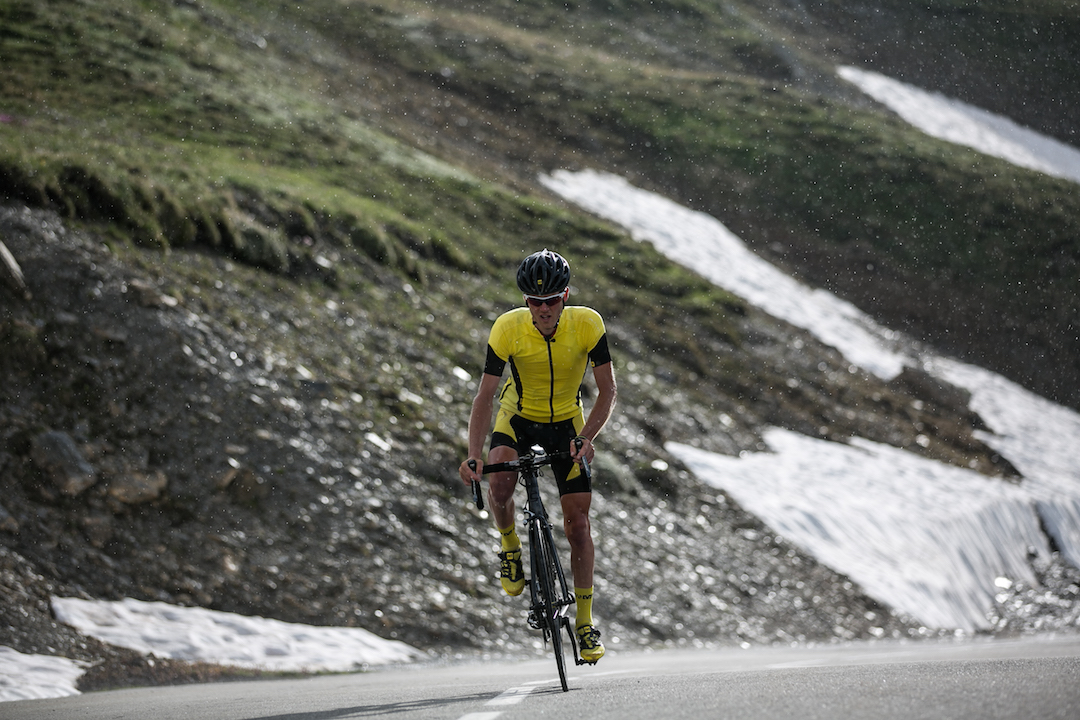
Climbing a mountain under your own steam is one of the most fulfilling and rewarding things you can experience on a bike. It’s possible to truly enjoy the essence and freedom of the high mountains without having to master the skills or take the risks of a climber or mountaineer. Whilst the beauty of the mountains is that they are accessible for all to enjoy on two wheels, this can sometimes throw up a few unexpected hurdles if you’re not well prepared, quickly taking you out of your comfort zone and into survival mode even when you’re on smooth tarmac and apparently close to civilisation. Unfortunately I’ve had to learn the hard way, getting caught out as the clouds roll in above and the temperature plummets is by no means a fun way to end a ride, so if you’re new to cycling then I’m hoping that some of the following points will not only maximise your enjoyment but also your safety as you venture into the mountains.
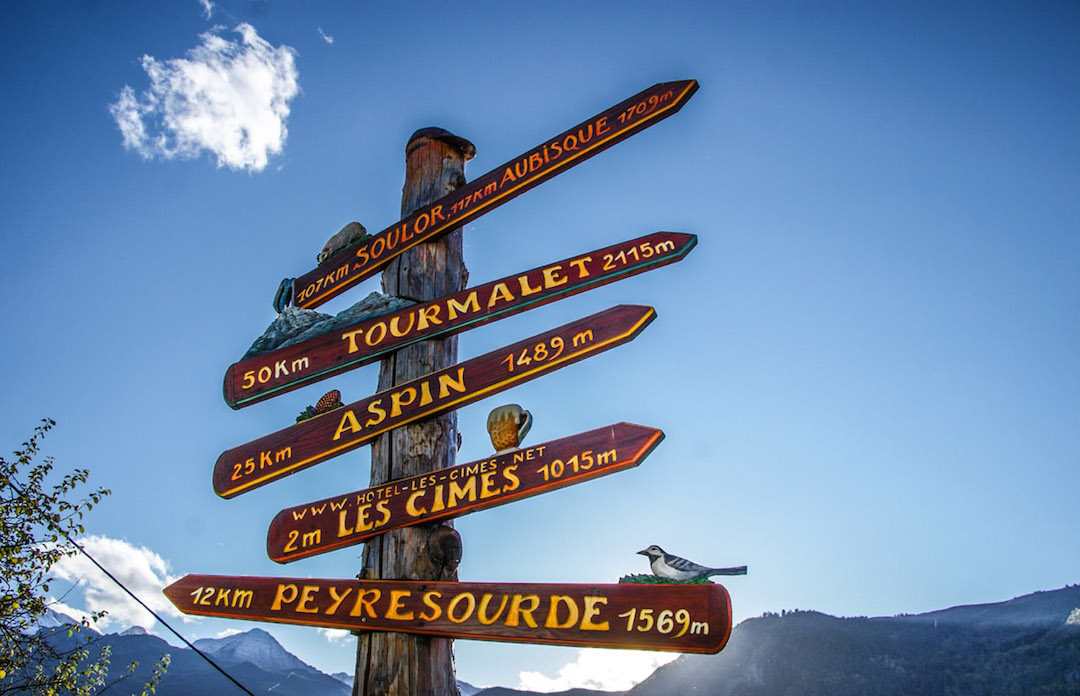
Route
There’s a good chance that you’ll be out for most of the day when in the mountains, such is the nature of just how long it takes to scale your way up to the summit of any given ascent. If you’ve got multiple peaks in store then it’s even more important to familiarise yourself with the route beforehand. Sometimes it’s easy to follow your friends and not fully understand the extent of what is in store.
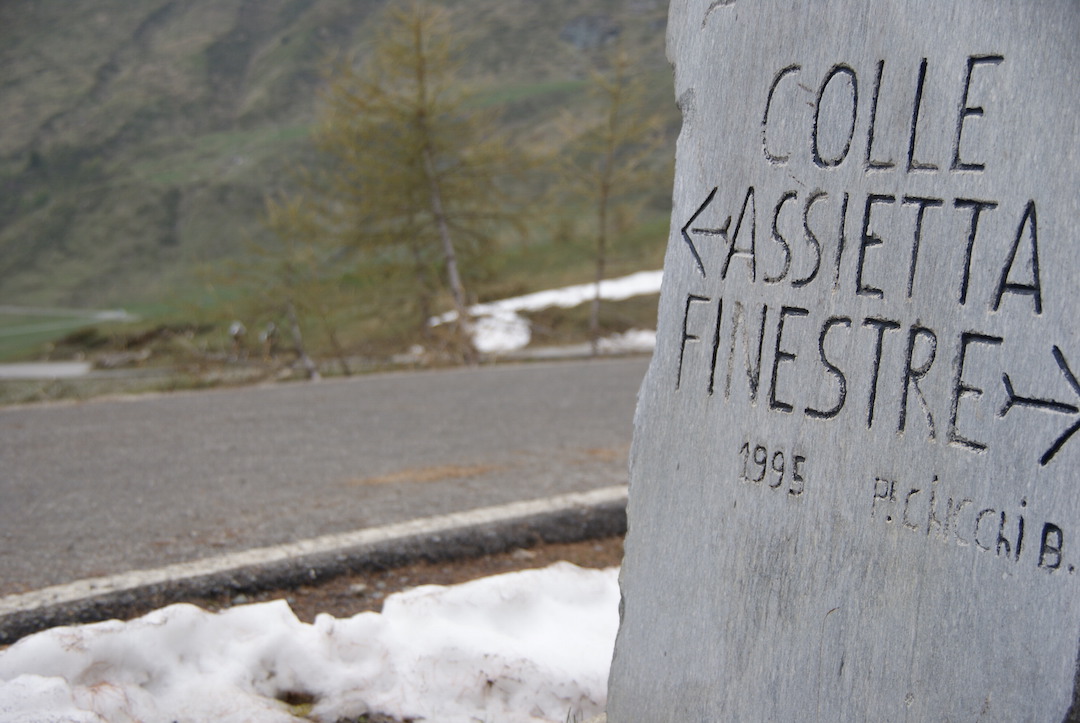
Even if I know an area quite well I still study the map the night before, taking some photos with my phone and making notes of how long each climb should take along with highlighting any shortcuts or particularly important parts that I want to remember. This helps to give me another level of confidence, knowing exactly where I am, what I can expect, where it’s possible to fill bottles or refuel and very importantly if the legs start to say night-night (or the weather changes) then you’re already one step ahead. Even if I’m on an organised ride with experienced cyclists I still go through this process. I guess it’s all part of my inner survival instinct. If there’s one thing I’ve learned over the years from my time in the mountains it’s to be as self sufficient and prepared as you can. At the end of the day there’s only one person that can really get you to the end of the ride and that person is you.
Weather
If I had a penny for every minute I spent checking the forecast I’d be…..well, still doing this actually! The reality is that the weather plays the mother role in your pleasure or pain on the bike and this is hugely intensified when cycling at altitude. Whilst forecasts have got more precise over the years they should not be trusted fully. Weather can be very local in the mountains meaning it’s not uncommon to have favourable conditions in one area and biblical conditions just a few kilometres away. This isn’t to put you off, it’s just to emphasise that you need to be aware of this and even if the forecast is giving you the thumbs up then proceed with some degree of caution. I’ve found it’s better to be like this than get caught out.
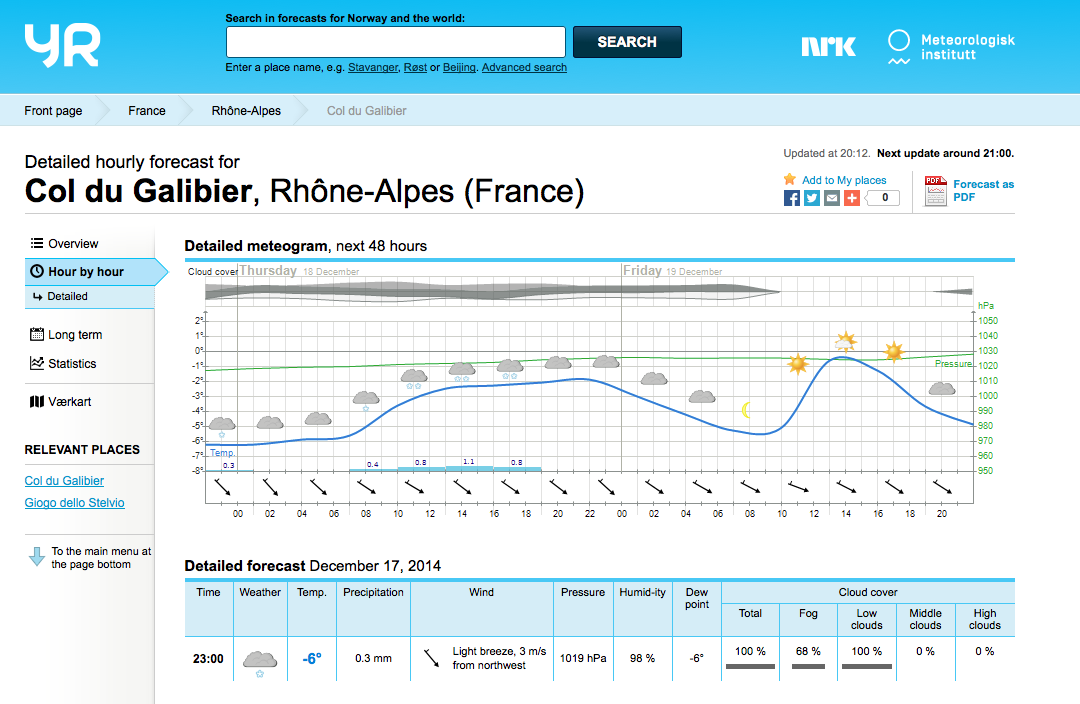
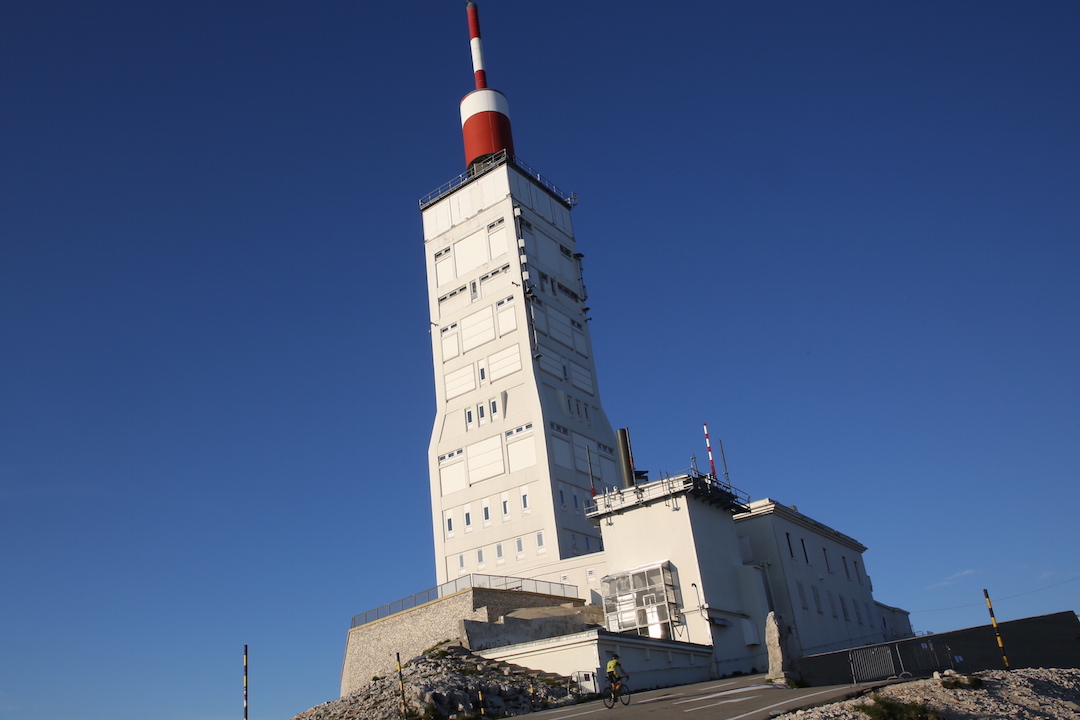
As a general rule of thumb you lose approximately 1ºC for every 100 metres of elevation climbed so if it’s 20 degrees in the valley and you’re climbing the Stelvio with an 1,800 metre height gain then you can expect it to be just above freezing by the summit. That’s a mighty big temperature difference especially when you factor in wind chill on the way back down. When I’m in Europe I often use YR.no. They have a good hourly forecast and also a rain radar so you can see what’s happening. Check the forecast regularly - the week before to get a general idea, day before to see how things have changed and on the morning to get a final heads-up on what to expect. From this it’ll be possible to try and decide on the best kit for the ride and if you’ll need to make any route changes.
What to Wear?
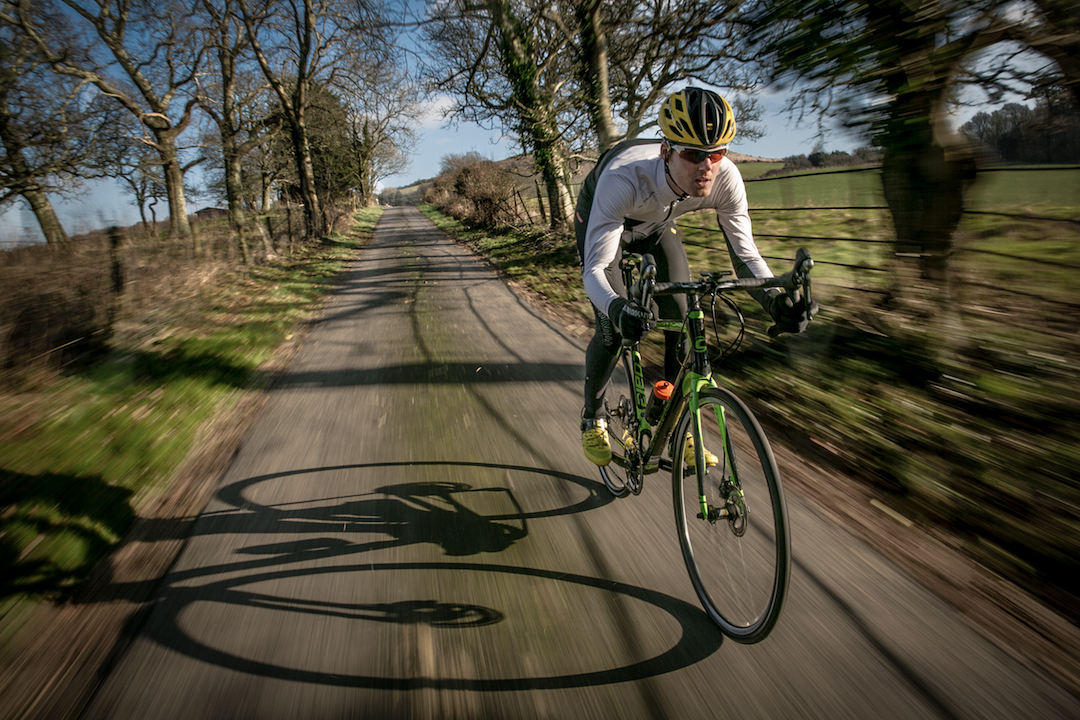
It’s better to be slightly too warm and able to peel a layer off than freezing cold and praying for a warm bath. If it’s early in the day and you’re slightly chilly when you leave for the ride then that’s a good sign that you’re close to having the right clothing for the day, provided things take their natural course and conditions don’t change unfavorably. As you start to ride you’ll generate heat and that early chill will soon disappear. As mentioned above the weather plays a key role in every aspect of mountain riding including your kit selection. Even in the height of summer it’s worth packing thermals, long-sleeved jerseys, gloves and even tights and overboots if you have the mentality that nothing is going to stop you.
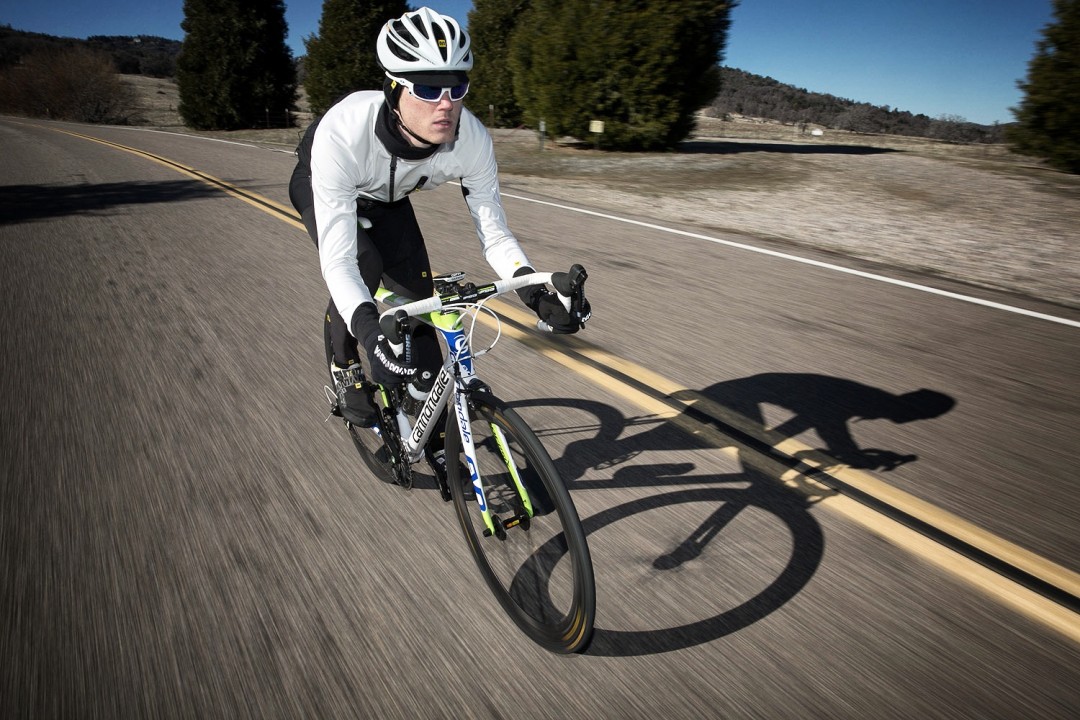
On a warm day a short-sleeve baselayer, lightweight jersey and shorts should suffice. Don’t forget arm and knee warmers if you know you tend to feel the cold and very importantly a packable shell or gilet that can easily be stowed into a rear pocket. When you get to the summit all hot and sweaty this little garment will be an absolute lifesaver on the way back down. For more more info on what to wear and when please see our article on clothing for changing weather conditions.
Fuel for the Ride
Little and often is the best routine to adopt. Even if you’re not feeling thirsty keep sipping on your water bottle. As you’re working harder whilst climbing you’ll lose more fluid through sweat so it’s absolutely essential to maintain hydration. We all have different perspiration levels so a little experimentation may be needed to find out how much you need to take on. For starters, try to consume 750ml of fluid per hour and adjust from there. If you know that you can top bottles up on route then you can consider carrying only one full bottle at a time (which will save you about 750g) but if in doubt don’t take the risk. It’s much better to carry the extra weight like a camel than run out of water! You’ll be constantly burning calories so just like with your hydration it’s important to keep nibbling on the bike.
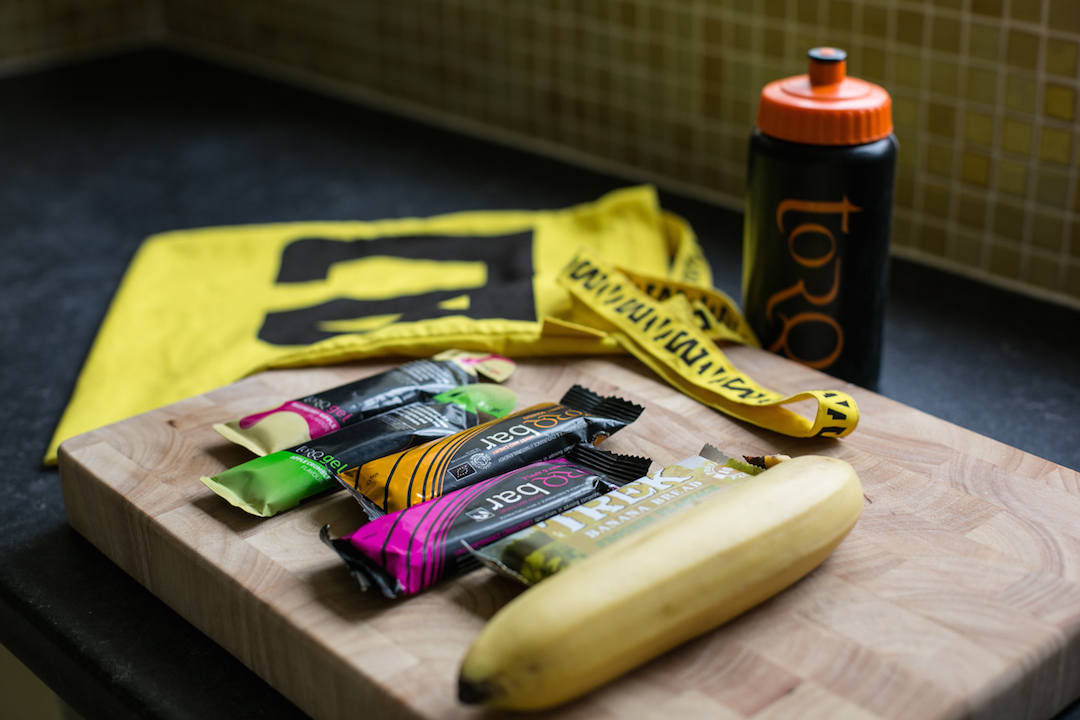
In today’s world there are a huge number of products that try and make this as simple as possible - gels and energy bars have their place in your back pocket but it’s important to test them out in advance to see what works best for you in terms of taste and digestibility. Try to take on 60g of carbohydrate per hour (from fluid and food) and see how you feel. We’re all different and you may find it’s easier to replace your calories from fluid versus food, or vice-versa. When I was training for Les Alpes in 2013 I got a lot of help from Torq Fitness. Their fuelling system makes it very easy to work out exactly how much you’re taking on with each serving, with a bottle of energy drink, gel or bar each containing 30g of carbohydrates.
Know Your Bike
You don’t need to be a professional mechanic to ride in the mountains, but remember that a taxi ride if you get stuck may not be an option especially when you realise your phone has no signal. Why does that always happen just when you need it most?
A basic level of bike maintenance skills will go a long way. At an absolute minimum you should learn how to replace an inner tube should you puncture and, for new cyclists, how to remove and replace the rear wheel which at first can look like a Mensa IQ test with the chain and sprockets getting tangled if you’re not familiar with the process. Fixing a broken chain is also a very useful skill to have. I’ve helped many cyclists out in the past that have been flapping at the side of the road as the day slowly starts to disappear. Take the time to practice these basic skills in the comfort of your home and I’m absolutely sure you’ll be glad that you did should you ever have to bring them into play.

If you’ve put a lot of miles in on your bike then consider having it serviced by your local bike shop or mechanic prior to heading to the mountains. Getting to the top of a col can be nerve wracking enough, you don’t want to be worrying about your bike as well.
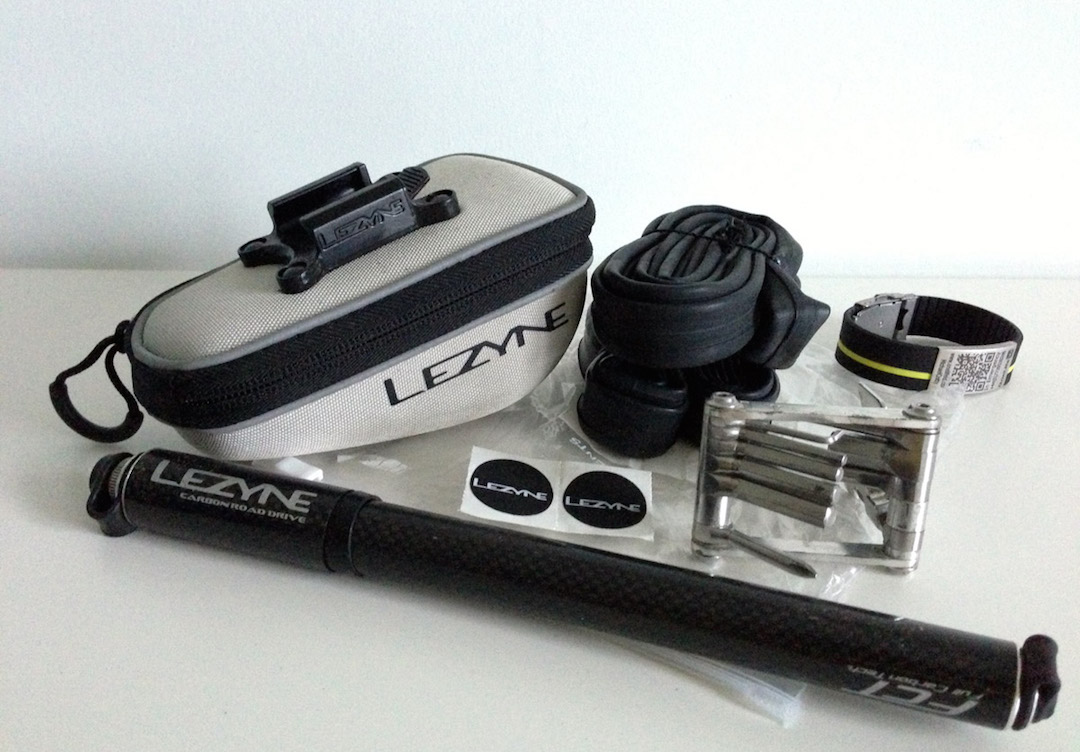
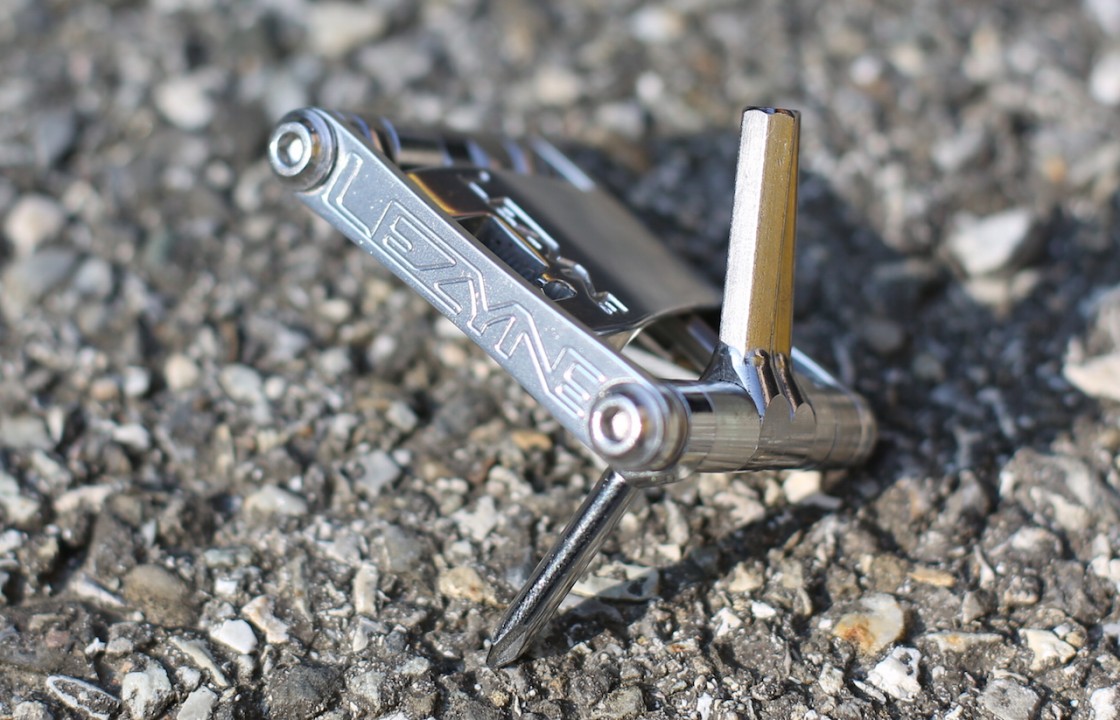
Tools & Spares
Of course knowing how to change an inner tube is one thing but you’ll also need to make sure you have the tools for the job. Your basic spares should include two tubes, two tyre levers (if your hands are even slightly cold or wet then you can lose a lot of dexterity, unfortunately I learnt the hard way when I didn’t have the strength in my thumbs to pull the tyre off). Glueless patches are helpful to quickly mend a tube if needed as is a tyre boot which can be used to line a tyre should you do the unthinkable and slice it open. A good quality hand pump is also a must. There’s nothing worse than frantically pumping at the roadside without the tyre inflating. A multi-tool with chain-splitter is also an essential, far better to carry the basics with you than wish you’d brought them in times of need.
Safety First
Riding with a friend or group not only allows you to share the gift of the mountains and the open road together but it’ll also mean should you have any trouble then you can spread the load and work together to get back on track. We’d recommend exploring the mountains alone once you’re confident and have a little more experience under tyre.

Many cols especially in Europe are riddled with tunnels, sometimes unlit, which means as you enter the black hole you’ll suddenly become almost impossible to see. Keep a small rear light fitted to your bike just in case you encounter the unexpected or the sky darkens and you become a hidden dot on the road.
There are a few things you don’t want to forget so try to get into a routine and remember to take some money or a credit card, a form of ID, your mobile phone and if you do venture out on your own then let someone know your route and time you plan to be back.
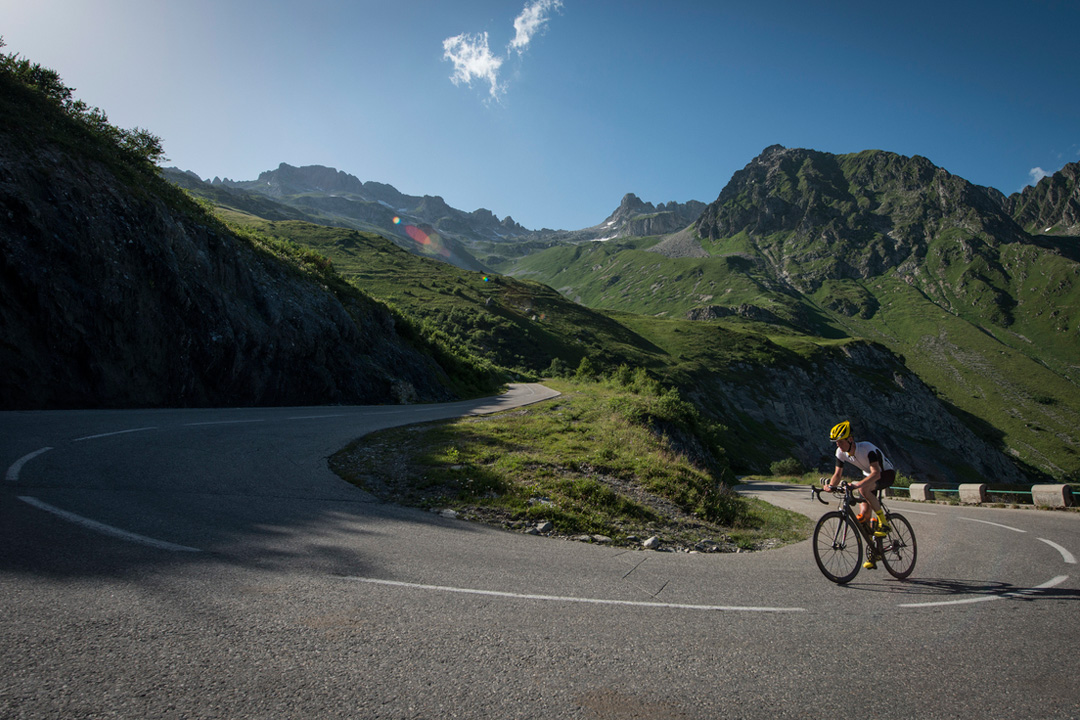
What Goes Up Must Inevitably Come Back Down
For many new road cyclists descending a long mountain pass for the first time can be quite a daunting experience. Often the challenge of making it to the top can overlook the fact that it’s a job in itself to get back down. The most important rule is to relax, if you’re too tense it’ll be much harder to handle your bike. Make sure you take on some fuel before you start the descent so that you can keep your concentration all the way down.
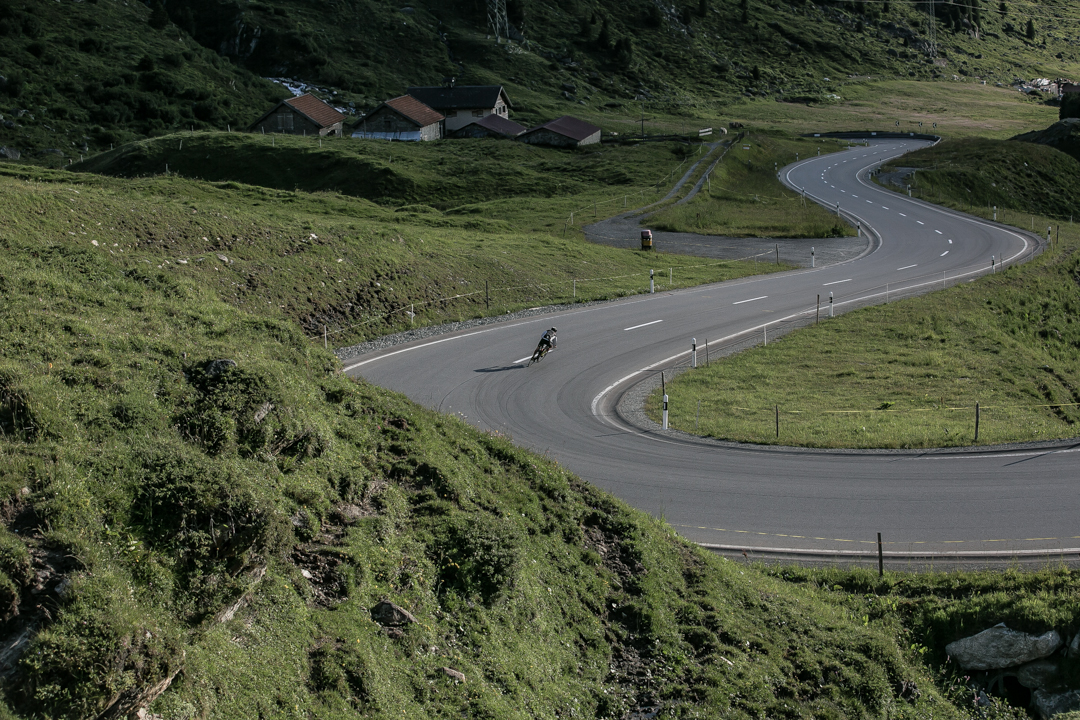
Take your time and ride within your comfort zone, with time you’ll find your flow and become more confident. Respect other road users. The racing line suddenly becomes the death zone as an oncoming vehicle appears from nowhere if you’re caught on the wrong side of the road at speed. We’ll be taking a closer look at both climbing and descending techniques in future articles so stay tuned for more.
Organised Ride?
In some cases you may have the luxury of being part of an organised camp like those run by La Fuga which means there’s every chance you’ll pick up some excellent advice and tips along the way. Pay attention to the professionals, all the little tips can add up to make a big difference to your riding pleasure and safety in the mountains. A support vehicle is a real plus point so that you can stow extra food and clothing just in case but remember that same vehicle may be catering for several riders which means you’ll still want to be as well prepared and self sufficient as you can.
We’ll be covering many more topics over the months to help you as best we can. If you know someone who may benefit from this advice why not share this article on Facebook and Twitter by clicking the icons below.
Ride safe and thanks for reading.
By Mike Cotty
For more help and advice why not ASK THE EXPERTS
Topic: Accessories · Bike maintenance · Clothing · General · Nutrition · Technique · Tools · Travel
More advice in this topic
Tech Talk - The basics of clothing technolgy for changing conditions
How to Avoid Excess Baggage Charges when Travelling with Your Bike?
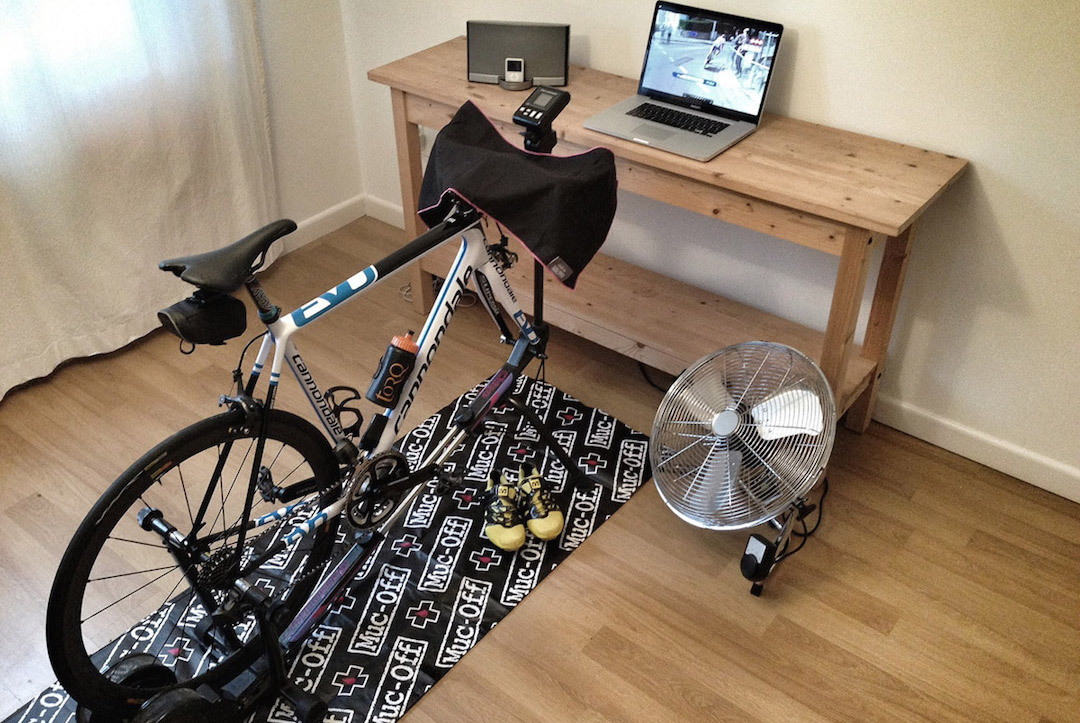
How to make the most of your indoor training time?
Essential tools & spares when travelling with your bike
Five Must Ride Climbs in the Pyrénées
How is it best to travel with your bike?
Recovery Tips for Riding a Multi-Day Event
Five tips to help you climb better
Dressing for Every Occasion on the Bike
How to train for the mountains if you live on the flat?
Making the most of your winter training with Torq Fitness